Simulating Autonomous Robots: A Guide to Using Vulcanexus (ROS 2) and Webots
Guide to Simulating Robots with Vulcanexus (ROS 2) and Webots

Introduction
The field of robotics has experienced significant advancements, with simulation playing a vital role in developing and testing autonomous systems before their deployment in real-world scenarios. Vulcanexus (ROS 2) and Webots are two powerful tools that facilitate this process.
Vulcanexus is a distribution of ROS 2 (Robot Operating System 2), offering enhanced performance, security, and user-friendliness for robotics applications.
Webots is a widely used open-source robot simulator that enables developers to model, program, and simulate robotic systems in a virtual environment.
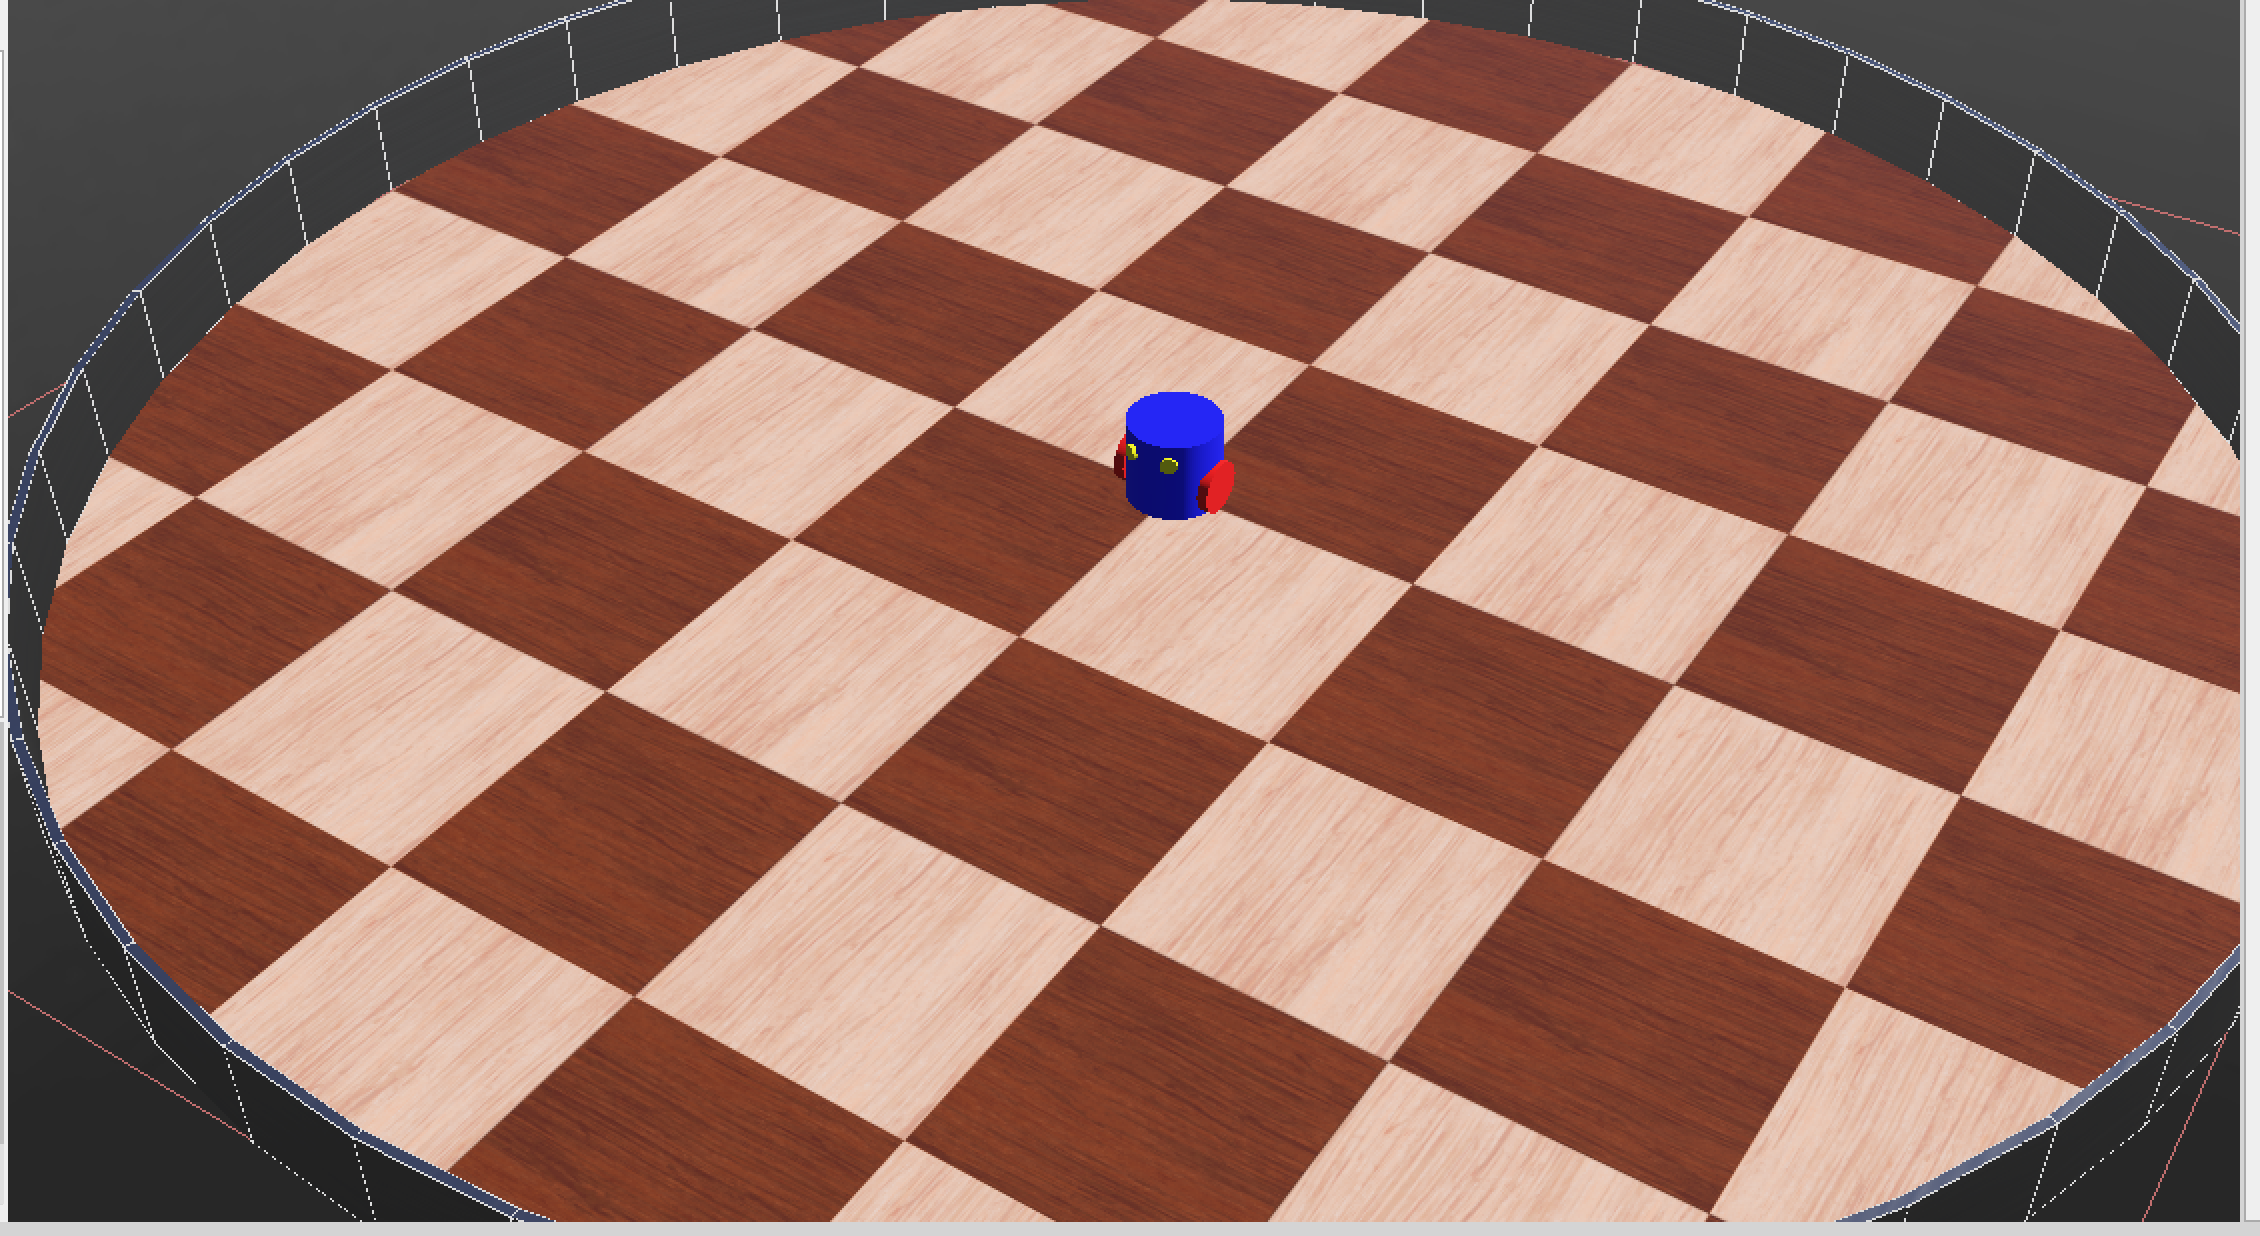
In this article, we will guide you through creating and simulating an autonomous robot using Vulcanexus (ROS 2) and Webots. At the end of this article, you should have a robot simulation similar to the one shown in the image below:
Prerequisites
Before we begin, ensure you have the following installed:
Vulcanexus (ROS 2 Humble) – Follow the official installation guide.
Webots – Download from the official website.
Python 3.8+ (for ROS 2 node scripting).
Basic knowledge of ROS 2 concepts (nodes, topics, services).
Step 1: Setting Up the Simulation Environment in Webots
Our simulation environment just requires 4 simple steps stated below
Launch Webots and create a new project.
Add a robot model (e.g., a differential drive robot).
Add sensors (e.g., LiDAR, cameras, IMU) to the robot.
Define the environment (e.g., a maze or warehouse) where the robot will operate.
1.1 Creating a New Webots Project
Launching Webots and Initial Setup
Open Webots: Launch the Webots application from your system menu or terminal (
webots).Create New Project:
Go to
File > New Project Directory...Name your project (e.g.,
ros2_autonomous_robot)Select a location to save it
Click "Choose"
Set World Properties:
Webots automatically creates a default world file (
worlds/.wbt)Right-click the world root in the scene tree > "Edit Physics"
Set
basicTimeStepto32(ms) for smooth ROS 2 integrationEnsure
Gravityis[0, -9.81, 0]
Set simulation
CFMto0.00001andERPto0.2for stable physics
1.2 Building the Robot Model
Adding a Differential Drive Robot Base
Insert Robot Node:
In the scene tree, right-click "World" > "Add New" > "Robot"
Rename the robot node to
autonomous_robot
Configure Robot Properties:
Set
controllerto<extern>(for ROS 2 control)Enable
supervisorif you need debugging capabilitiesSet
customDatatoROS2for Webots-ROS2 interface
Add Chassis:
Right-click robot > "Add New" > "Shape"
Under Shape:
Set
geometryto "Box"Dimensions:
[0.2, 0.1, 0.3](LWH in meters)
Add Appearance:
Set base color to your preference
Add PBR material for realistic rendering
Implementing Differential Drive Mechanism
Add Wheels:
Right-click robot > "Add New" > "HingeJoint" (x2)
For each wheel:
Set joint parameters:
anchor:[±0.1, -0.05, 0]axis:[0, 1, 0]
Add "Solid" child with:
Cylinder geometry (radius: 0.05, height: 0.03)
Physics properties (mass: 0.5kg)
Add "PositionSensor" for wheel odometry
Configure Motors:
For each HingeJoint:
Add "RotationalMotor" device
Set
controlPID:[10, 0, 0.1]Name them
left_wheel_motorandright_wheel_motor
1.3 Sensor Configuration for Autonomous Navigation
LiDAR Setup (for Obstacle Detection)
Add a Lidar Sensor:
Right-click robot > "Add New" > "Lidar"
Configure parameters:
type: "Rotating"horizontalResolution: 360numberOfLayers: 1fieldOfView: 6.28319 (360°)range: 5.0 (meters)defaultFrequency: 10 (Hz)
Name:
lidar
Position the Sensor:
Set
translationto[0, 0.15, 0](above robot)Set
rotationto[0, 0, 1, 0](forward-facing)
IMU Configuration (Optional)
Add InertialUnit:
Right-click robot > "Add New" > "InertialUnit"
Parameters:
name:imufrequency: 100 (Hz)
Position at robot's center
Add Accelerometer:
Right-click robot > "Add New" > "Accelerometer"
Parameters:
name:accelerometerfrequency: 100 (Hz)
Camera Setup (Optional for Vision)
Add RGB Camera:
Right-click robot > "Add New" > "Camera"
Configure:
name:front_camerawidth: 640height: 480fieldOfView: 1.0472 (60°)
Position at front of robot
1.4 Building the Simulation Environment
Creating a Test Arena
Add Floor:
Right-click World > "Add New" > "Floor"
Set
size:[5, 5](5m x 5m)Add Appearance with grid texture
Add Obstacles:
Insert multiple "Box" nodes:
Sizes between
[0.2, 0.2, 0.2]to[0.5, 0.5, 0.5]Scatter randomly in the arena
Add textured walls around the perimeter
Add Visual Markers (Optional):
Colored cylinders as navigation waypoints
Textured paths for line following
1.5 Final Robot Configuration
ROS 2 Interface Setup
Configure Proto Node:
 PROTO AutonomousRobot [
   field SFString controller "<extern>"
   field SFString customData "ROS2"
 ]
Save as Template:
Export your robot as a PROTO file for reuse
Store in
protos/directory
Step 2: Integrating ROS 2 with Webots
Webots provides a ROS 2 interface that allows communication between the simulator and ROS 2 nodes.
Install the Webots ROS 2 package:
sudo apt-get install ros-humble-webots-ros2Launch Webots with ROS 2 support:
 source /opt/ros/humble/setup.bash
 ros2 launch webots_ros2_universal_robot multirobot_launch.py
Step 3: Developing ROS 2 Nodes for Autonomous Control
We will create a ROS 2 node in Python to control the robot autonomously.
Example: Obstacle Avoidance Robot
Create a ROS 2 package:
 ros2 pkg create --build-type ament_python autonomous_robot
 cd autonomous_robot
We will write the control node in a new file in our autonomous_robot/src, create a new file,
obstacle_avoidance.pyThe content of the new file is shown below:import rclpy from rclpy.node import Node from sensor_msgs.msg import LaserScan from geometry_msgs.msg import Twist class ObstacleAvoidance(Node): def __init__(self): super().__init__('obstacle_avoidance') self.subscription = self.create_subscription( LaserScan, '/scan', self.scan_callback, 10) self.publisher = self.create_publisher(Twist, '/cmd_vel', 10) self.twist = Twist() def scan_callback(self, msg): min_distance = min(msg.ranges) if min_distance < 1.0: # Obstacle detected within 1 meter self.twist.linear.x = 0.0 self.twist.angular.z = 0.5 # Turn right else: self.twist.linear.x = 0.5 # Move forward self.twist.angular.z = 0.0 self.publisher.publish(self.twist) def main(args=None): rclpy.init(args=args) node = ObstacleAvoidance() rclpy.spin(node) node.destroy_node() rclpy.shutdown() if __name__ == '__main__': main()Modify
setup.pyto include the executable:entry_points={ 'console_scripts': [ 'obstacle_avoidance = autonomous_robot.obstacle_avoidance:main', ], },Build and run the node:
 colcon build
 source install/setup.bash
 ros2 run autonomous_robot obstacle_avoidance
Step 4: Running the Simulation
Now that we have set up our robot in Webots and developed a ROS 2 node for obstacle avoidance, it's time to run the simulation and observe the robot in action. This step involves launching Webots, running the ROS 2 node, and verifying that the robot behaves as expected.
4.1 Launching Webots with ROS 2 Support
Before running the simulation, ensure that:
Webots is installed and properly linked with ROS 2.
The Vulcanexus (ROS 2) environment is sourced.
Steps to Launch Webots with ROS 2 Integration:
Open a terminal and source ROS 2:
source /opt/ros/humble/setup.bashLaunch Webots with the robot world:
If you created a custom robot world in Webots, open it directly:
webots path/to/your_robot_world.wbtAlternatively, use a pre-built Webots ROS 2 example:
ros2 launch webots_ros2_universal_robot multirobot_launch.py
Verify ROS 2 topics are available in Webots:
In Webots, go to
Tools > ROS 2 Topic Listto see active topics (e.g.,/scan,/cmd_vel).Ensure that the robot’s sensors (LiDAR, cameras) are publishing data to ROS 2 topics.
4.2 Running the ROS 2 Control Node
Now, let’s execute the obstacle-avoidance node we developed in Step 3.
Steps to Run the ROS 2 Node:
Open a new terminal and source ROS 2:
source /opt/ros/humble/setup.bashNavigate to your ROS 2 workspace and build the package (if not already built):
 cd ~/ros2_ws
 colcon build
 source install/setup.bash
Run the obstacle avoidance node:
ros2 run autonomous_robot obstacle_avoidance- This node will subscribe to
/scan(LiDAR data) and publish velocity commands to/cmd_vel.
- This node will subscribe to
Verify that the node is running:
Check active ROS 2 topics:
ros2 topic listMonitor
/cmd_velto see if the robot is receiving motion commands:ros2 topic echo /cmd_vel
4.3 Observing Robot Behavior in Simulation
Once both Webots and the ROS 2 node are running:
The robot should start moving forward (if no obstacles are detected).
When an obstacle is detected (within 1 meter, as per our code), the robot should stop and turn (angular velocity
0.5 rad/s).After avoiding the obstacle, it should resume moving forward.
Debugging Tips:
If the robot doesn’t move, check:
Is the
/scantopic publishing data? (ros2 topic echo /scan)Are there any errors in the ROS 2 node? (
ros2 run autonomous_robot obstacle_avoidanceshould not crash)
If the robot moves erratically, adjust the thresholds in the Python code (e.g., change
min_distance < 1.0to a different value).
4.4 Enhancing the Simulation (Optional)
To make the simulation more advanced, consider:
A. Adding More Sensors
RGB Camera: For object detection (publish images to
/camera/image_raw).IMU: For better motion control (publish to
/imu/data).
B. Implementing SLAM (Simultaneous Localization and Mapping)
Use
slam_toolboxwith LiDAR data to create a map.Run:
ros2 launch slam_toolbox online_async_launch.py
C. Integrating Navigation Stack
Use
nav2for path planning:ros2 launch nav2_bringup navigation_launch.py
Closing
Building and simulating an autonomous robot using Vulcanexus (ROS 2) and Webots opens up exciting possibilities in robotics development. By integrating ROS 2’s flexible communication framework with Webots’ realistic simulation capabilities, developers can efficiently prototype and refine robotic behaviors before deploying them in real-world scenarios.
As robotics technology continues to evolve, tools like Vulcanexus and Webots play a crucial role in accelerating innovation. Whether you're working on industrial automation, service robotics, or research projects, mastering these platforms will empower you to create smarter, more efficient robotic systems.
I hope this guide has provided you with a solid foundation for your autonomous robotics journey. Now, it’s time to experiment, iterate, and push the boundaries of what your robots can achieve! Happy coding! 🚀


